Linux palvelimet - ICT4TN021 - Autumn 2021
Edited on September 1, 2021 while moving blog to next js based website
This is the start of my journey on learning Linux server management and overall Linux environment usage during the course Linux Palvelimet. I will be writing blog posts as a part of the course curriculum and this is the post for the first weeks assignments.
Linux Installation and setup
In this weeks exercises the first task was to install Linux on either a virtual machine or your own computer. I decided to install Linux Mint on my Lenovo Thinkpad T460S as I haven't used it much and can use this as an opportunity to learn Linux more intimately and ocntinue using it even after the course is over.
I downloaded Linux Mint ISO from the official site and created a bootable USB drive with Rufus on my Desktop computer running Windows 10 Home version 20H2.

I selected the USB drive that would be used and then the ISO file. All other options were left with default values. The bootable USB drive was then created by pressing START.
I then checked that all my projects were either on github or on my cloud storage before booting the laptop from the USB drive.
To enter the boot menu on my laptop I pressed the F2-key during startup and then pressed the Enter-key to interrupt normal startup, giving me the following menu.
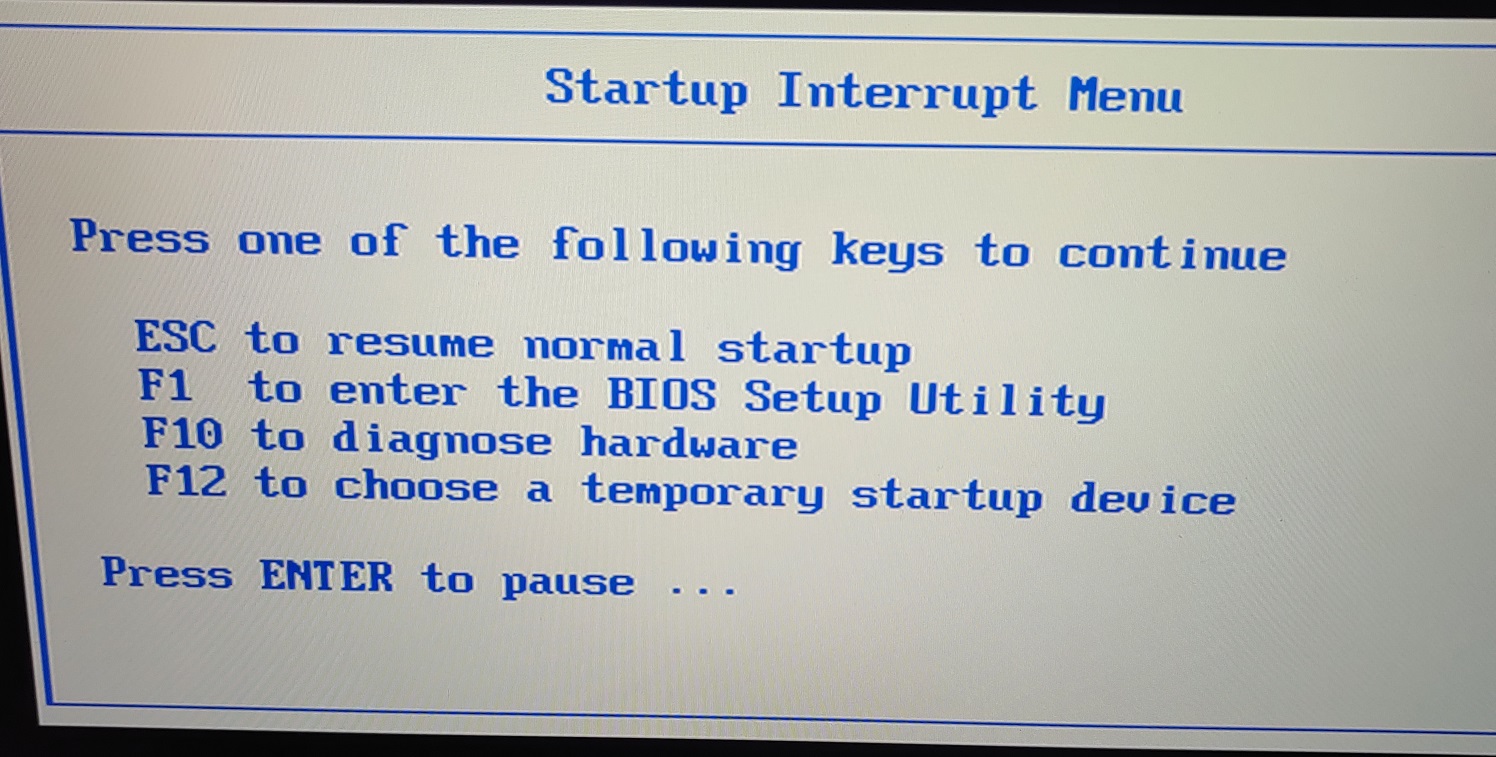
From there I selected to choose a temporary startup device with F12, which led to the boot menu.
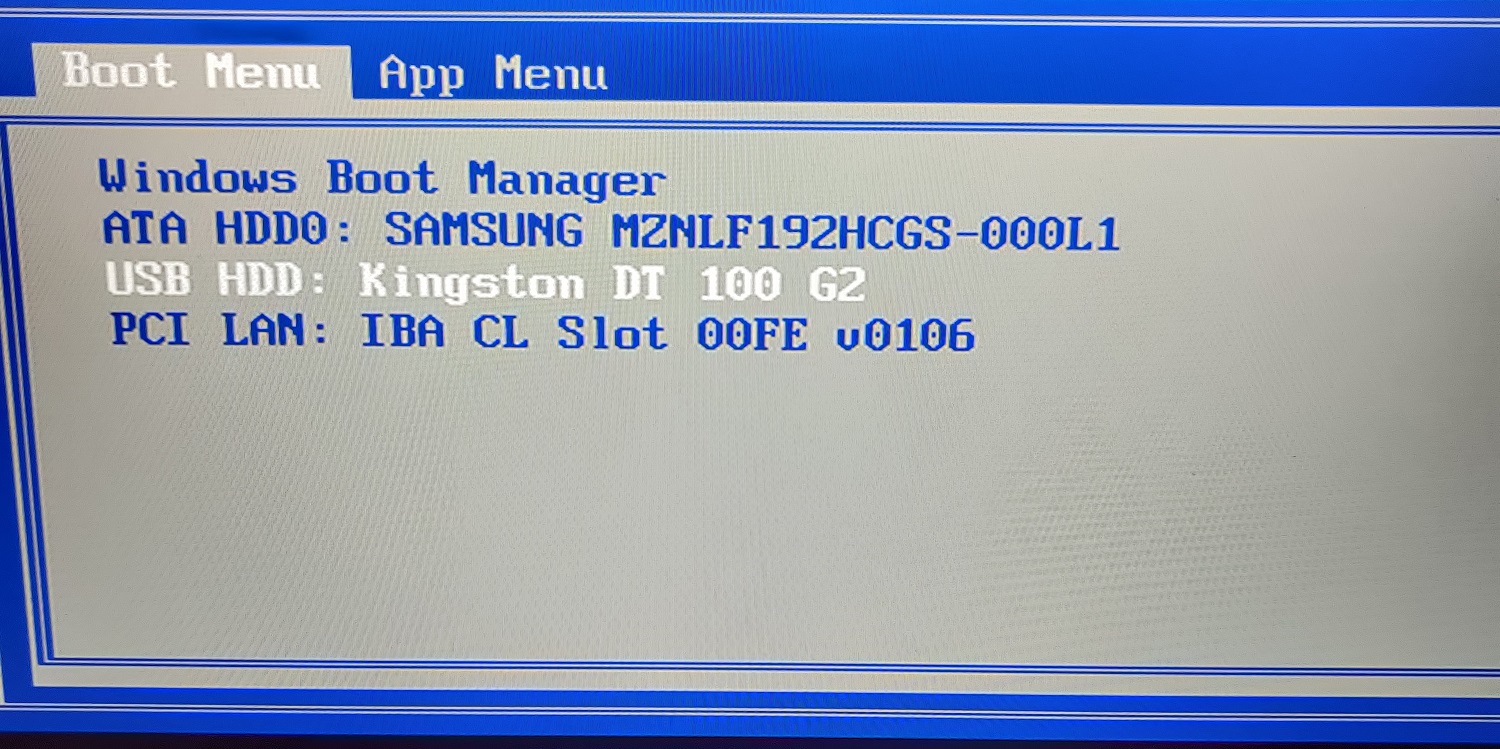
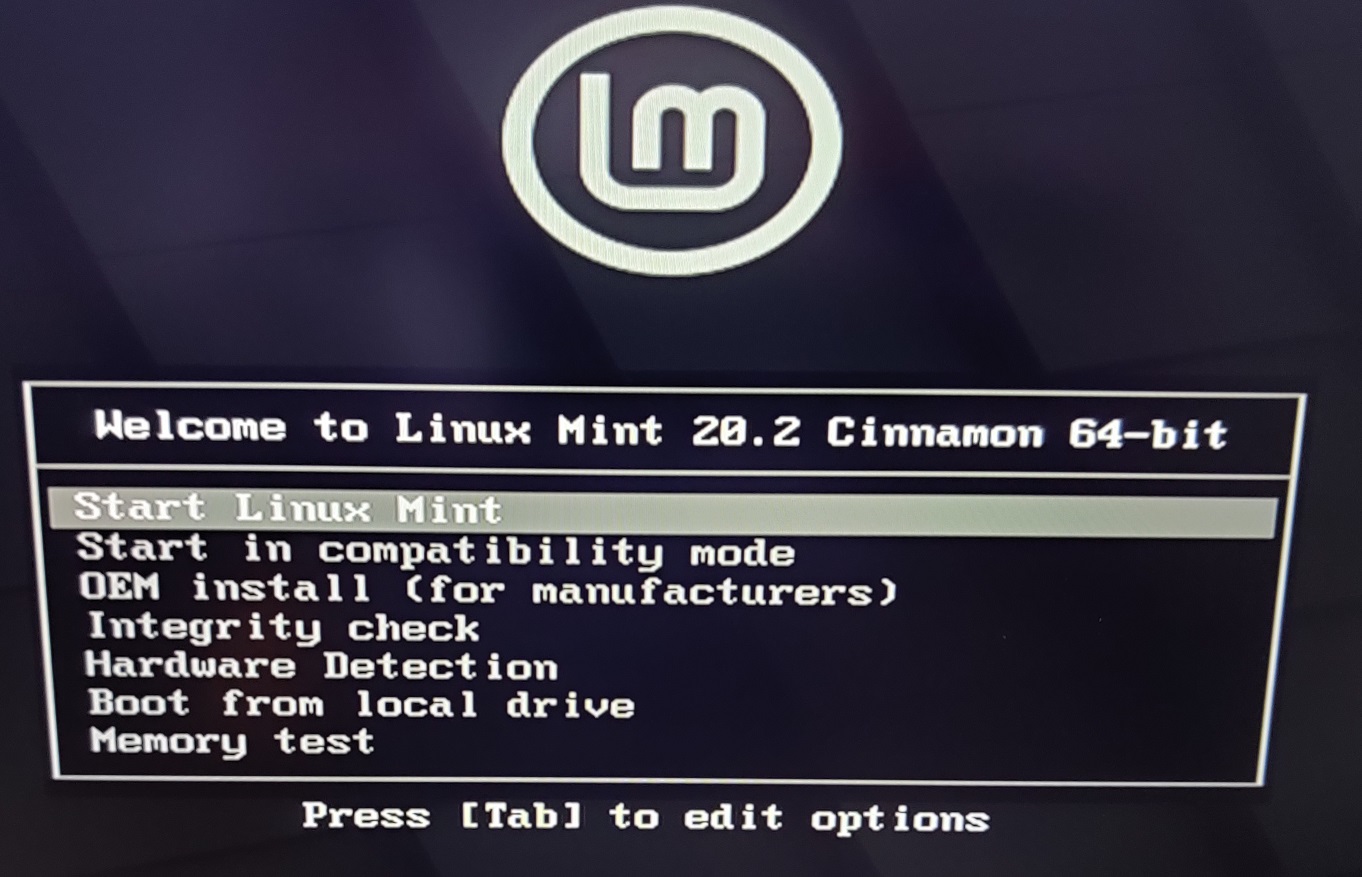
I then selected the USB drive, which in this case was USB HDD: Kingston DT 100 G2 Then in the following Linux Mint menu I chose to start Linux Mint.
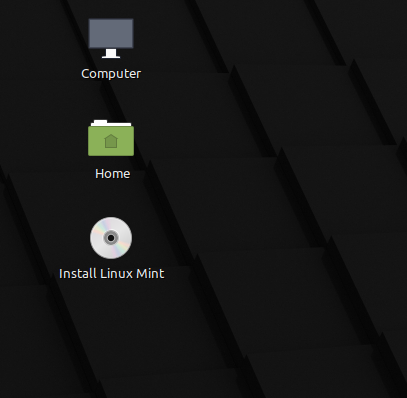
Then I was greeted with a desktop view with a few icons. To install the OS to the laptop, I double-clicked the Install Linux Mint -icon. Then I went through the installation process based on my own preferences.
I then updated everything and enabled firewall with the following commands:
- sudo apt-get update
- sudo apt-get -y dist-upgrade
- sudo ufw enable
Hardware and software
The next task was to list the system hardware with the command: sudo lshw -short -sanitize generating the following:
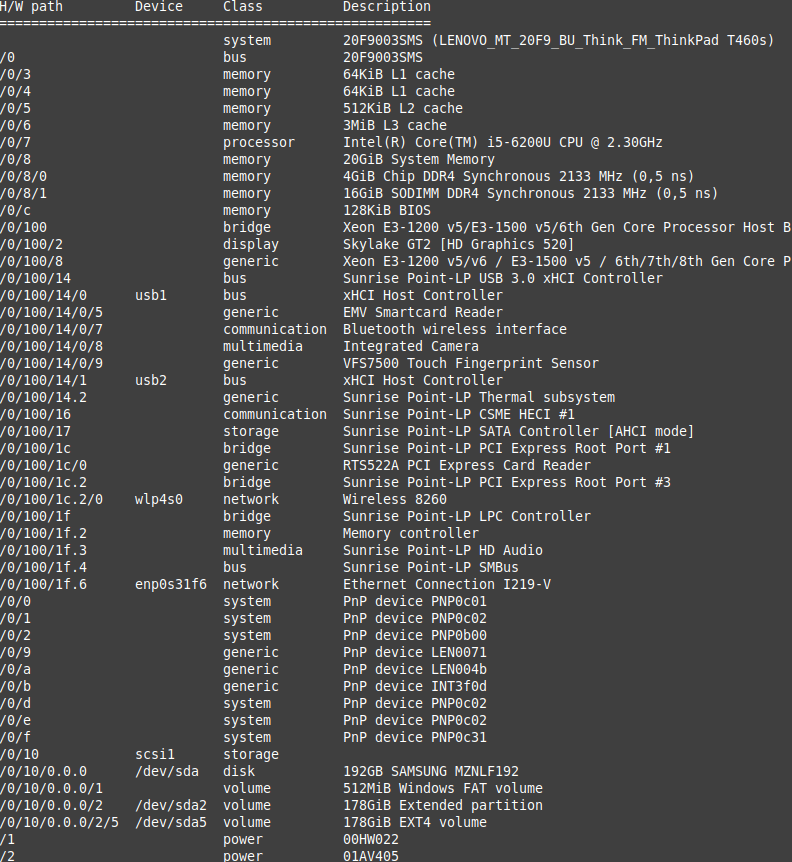
The command lists all the system hardware, their relative path to eachother, their type (bus, memory, system, etc.) and their short description.
After that I installed Visual Studio Code, Blender and Git with the following commands:
- sudo apt-get update
- sudo apt-get install blender
- sudo apt-get install git
- sudo rm /etc/apt/preferences.d/nosnap.pref (needed to install snap, which is used to install VSCode)
- sudo apt-get install snapd
- sudo snap install --classic code
After installing I checked that each program worked and VSCode and Git are also used to create this html page and to push it to the git io page.
Software licensing
Visual Studio Code, which is a Microsoft product has its license terms available here. The license allows the use of any number of copies of the application without limitation for software develompent, testing and demoing. It may include third party components and extensions with their own seperate legal notices and/or licenses.
It also has its source code available publicly on github under the MIT license. So you could technically modify and compile it yourself so that the license terms of VSCode wouldn't apply and you could use parts of it in you own projects. Though any mentions of Microsoft would need to be removed.
Git is released under the GNU General public license version 2. This means that you are free to distribute the program as well as change or use parts of it in new free programs. To protect these rights all recipients of distributed copies of such programs must have the same rights and access to the source code.
Blender is also being licensed under the GNU General Public License, so you are free to modify and distribute it as mentioned before. On Blenders license page it is mentioned that all your creations within Blender are your sole property, so you can use them as you please without restriction.
Links
- Course material: https://terokarvinen.com/2021/linux-server-course-linux-palvelimet-ict4tn021-3016/
- Linux Mint: https://www.linuxmint.com/
- Rufus: https://rufus.ie/en/
- Visual Studio Code license:https://code.visualstudio.com/License/
- Visual Studio Code Github page: https://github.com/Microsoft/vscode
- Git: https://git-scm.com/
- GPL-2: https://opensource.org/licenses/GPL-2.0
- Blender license: https://www.blender.org/about/license/