Pentest week 5, Me in the Middle
Penetration testing week 5
This week's focus on the course is man-in-the-middle proxies and specifically OWASP ZAP. Also on this week's agenda there is HackTheBox machines and starting to exploit them. The posts regarding the HTB machines will be behind a separate link that requires authentication.
Links to exercise sections
- a) OWASP ZAP
- b) FoxyProxy
- c) Traffic listening
- d) Edit & resend
- e) Traffic capture and edit
- f) Automated scanning and attacking
- g) HackTheBox starting point
- h) HackThebox machines
a) OWASP ZAP
To start off with, I already have OWASP ZAP installed and the certificate set on my Firefox, so I will just revoke the certificate and show how to add it to the browser.
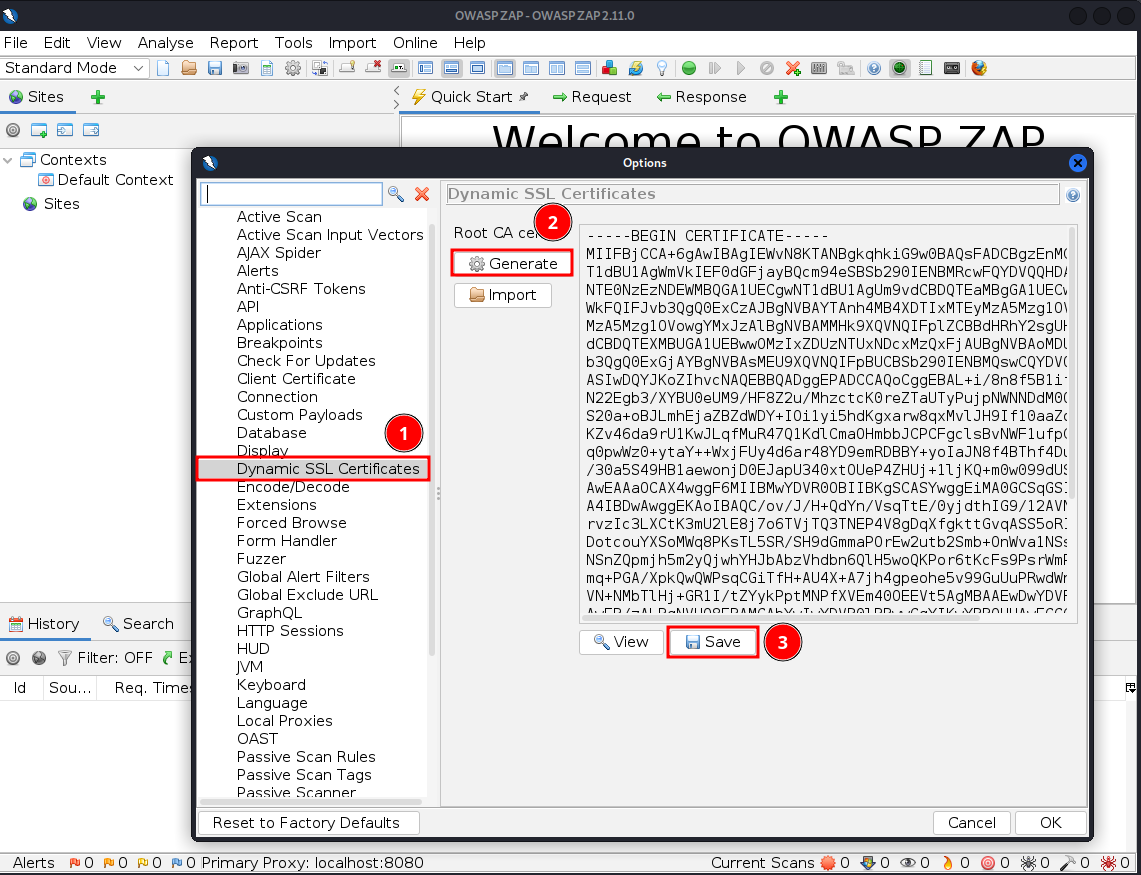
Start off by opening the Options menu from the Tools dropdown list on ZAP.

Then in the Options menu select the Dynamic SSL Sertificates page. When on the page, click on Generate if you want to generate a new certificate and then click on Save, saving in it a place of your choosing.
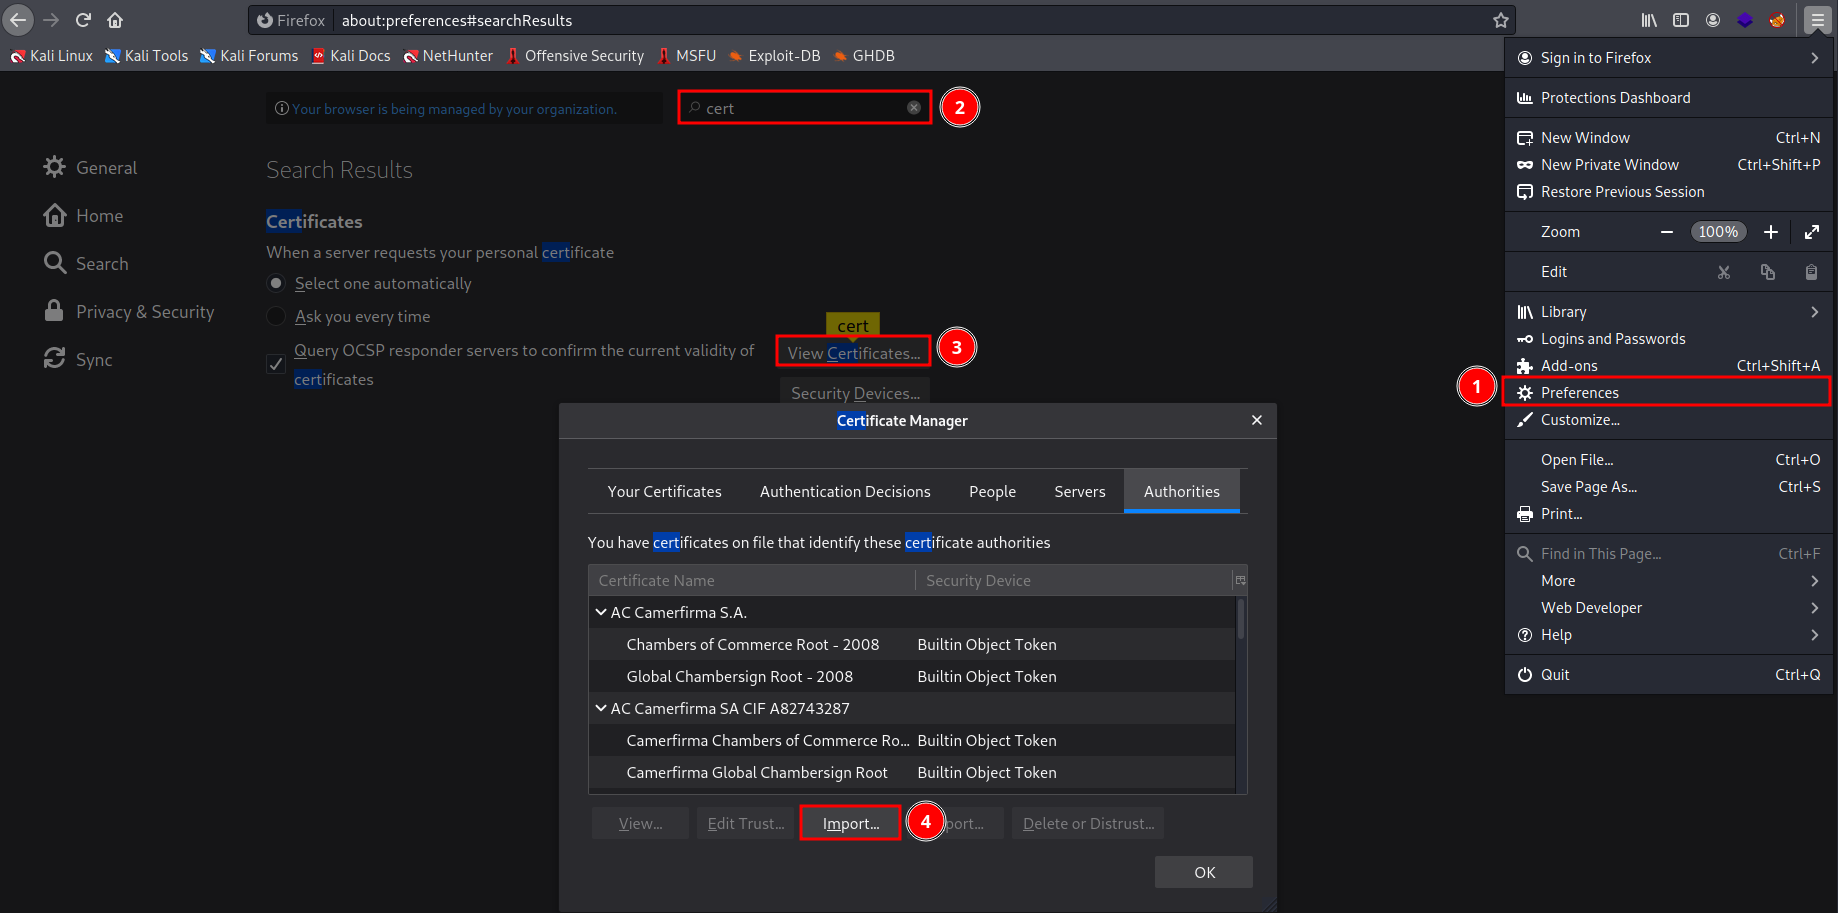
Then open your browser (in my case Firefox) and find the section where certificates are managed (I have highlighted the steps for Firefox in the next image) and click on import.
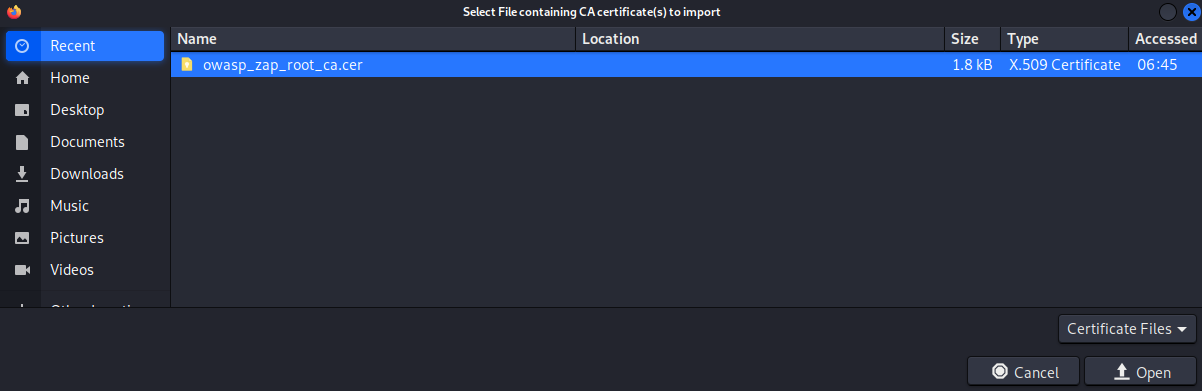
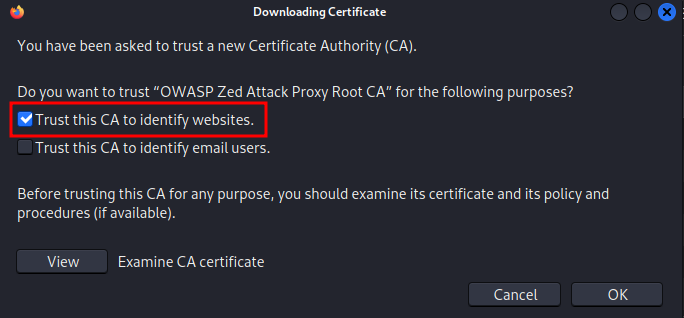
This opens a file explorer where you should go look for the .cer file that you saved previously. Choose the file and click Open. This opens a prompt asking if you trust the Certificate authority. To make ZAP work, you need to select Trust this CA to identify websites and click OK. Now ZAP is ready to run as soon as you proxy the traffic to the port shown at the bottom of the ZAP application (default 8080).
b) FoxyProxy
FoxyProxy is a tool used to replace Firefox's default proxy management and allows us easily to set a proxy to be used on the domains we want with an easy on/off switch.
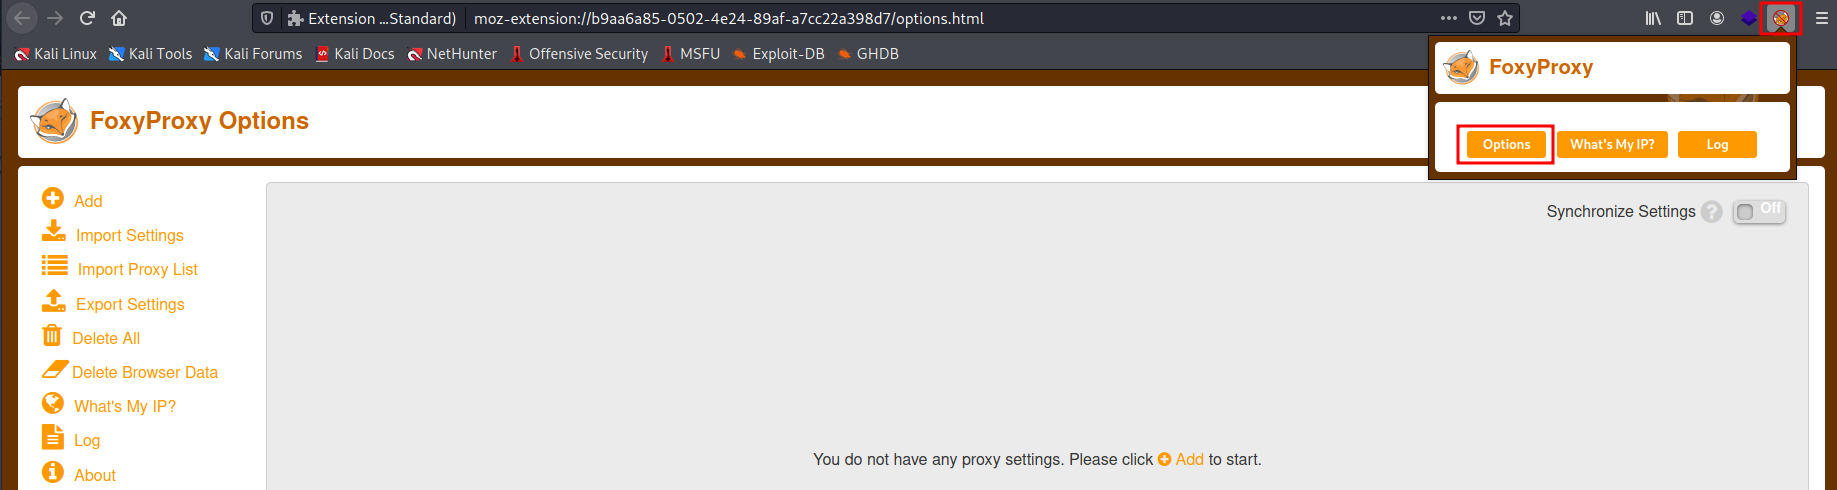
After downloading the extension, it appears on the toolbar where you can open the options menu to start adding proxies and rules. Click on Add to create a proxy.
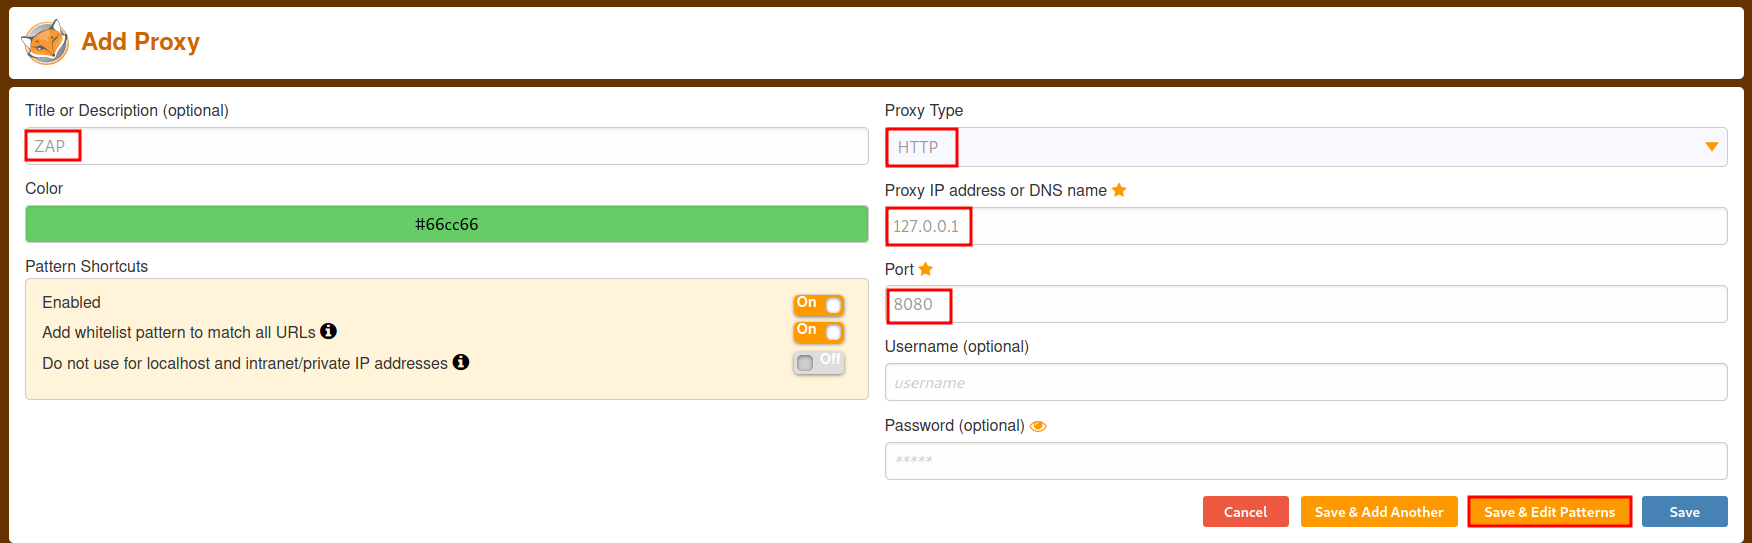
When adding a proxy, add a descriptive name so that you can recognize it. Then for proxy type, set HTTP and for IP and port, set localhost and the port that ZAP is listening on. Then click Save & Edit Patterns to open the options to specify which domains to use the proxy for.
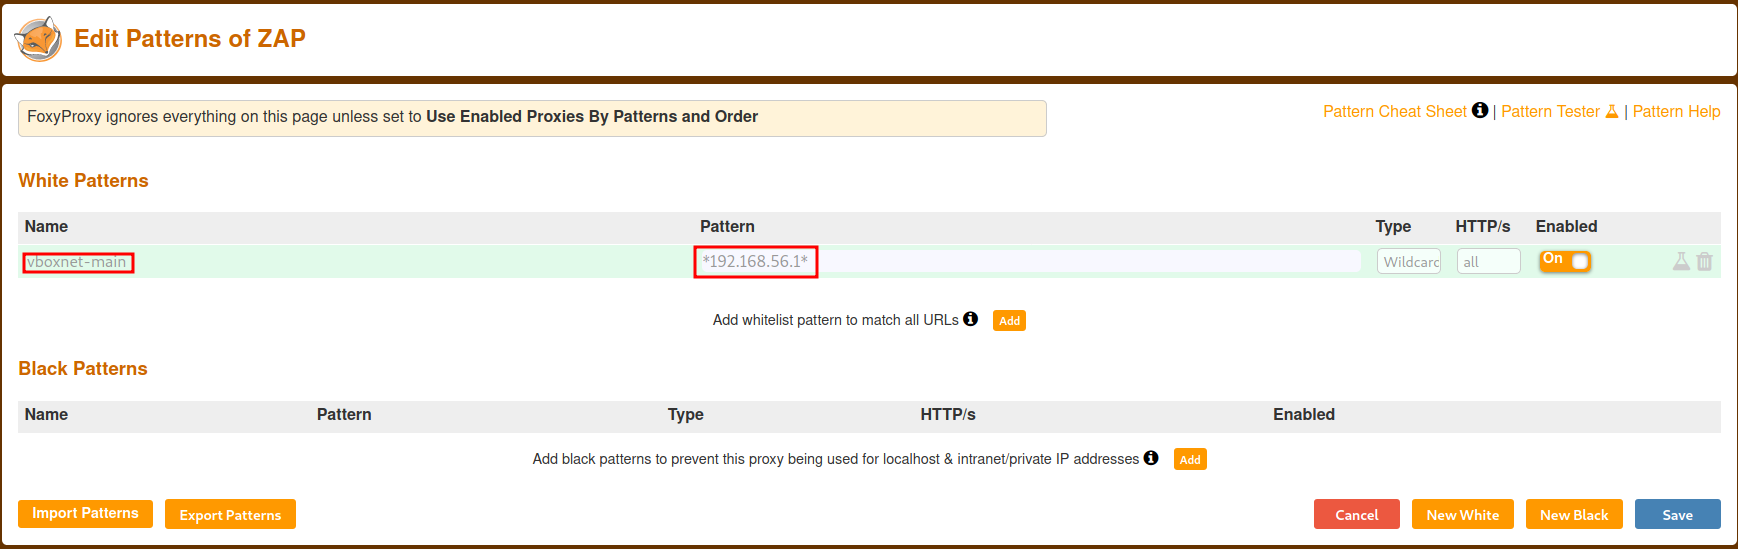
By default FoxyProxy whitelists all domains unless you unchecked the box on the previous page. To only whitelist the that I want (in this case, my main machines IP on VirtualBox's host-only network) I modified the Pattern to *192.168.56.1*, catching all traffic for this specific IP. Then click Save.
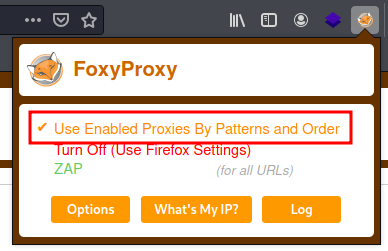
To enable the proxy using the specified pattern, click on the FoxyProxy icon in the toolbar and click on Use Enabled Proxies By Patterns and Order. Clicking just on the ZAP proxy redirects all traffic through the proxy, I assume.
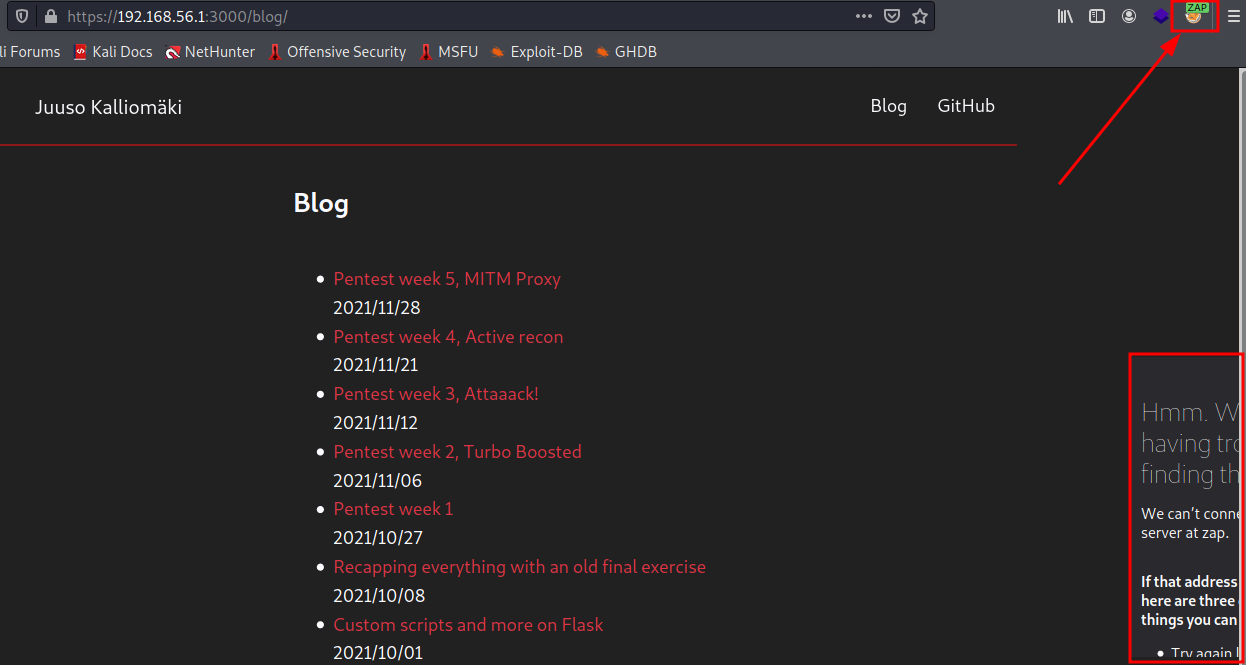
Then when you open a site that matches the pattern you set, you see a change in the FoxyProxy icon indicating that the proxy is in use. When connecting to my blog project running on npm I got an error with the ZAP Hud and trying to disable it caused an SSLException. I assume this is due to the application running without SSL encryption being a dev application and after trying to open my own published website with proxy set to work on all domains, the Hud works properly.
c) Traffic listening
I listened on traffic into the OWASP Juice web application running on npm on my main machine.
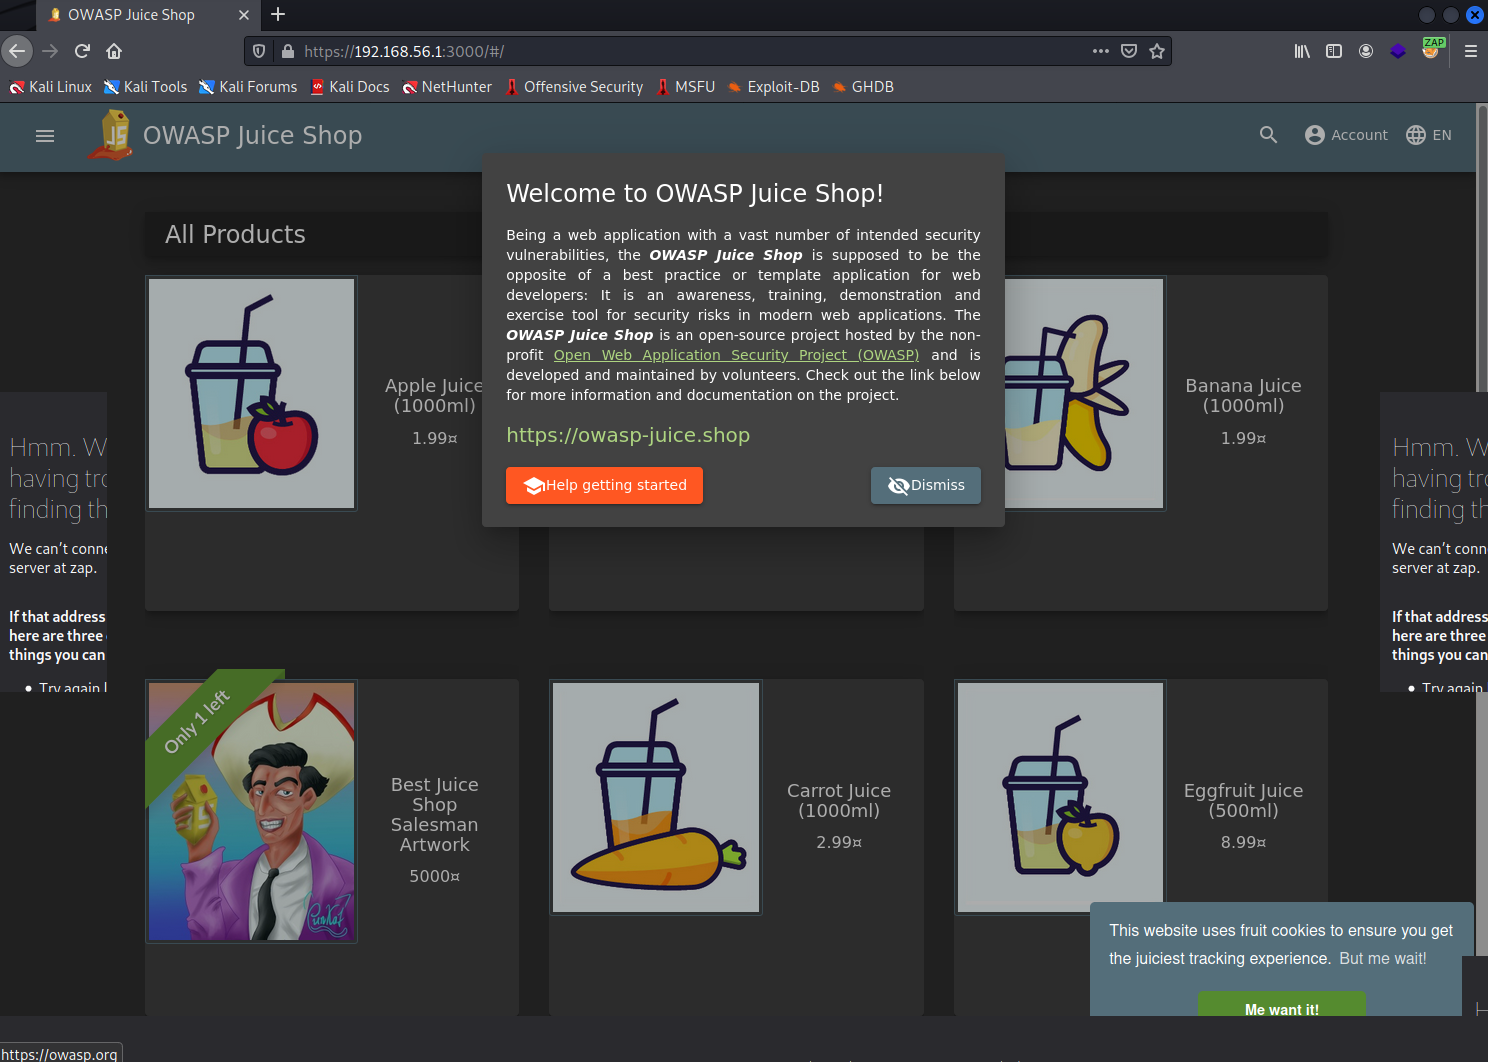
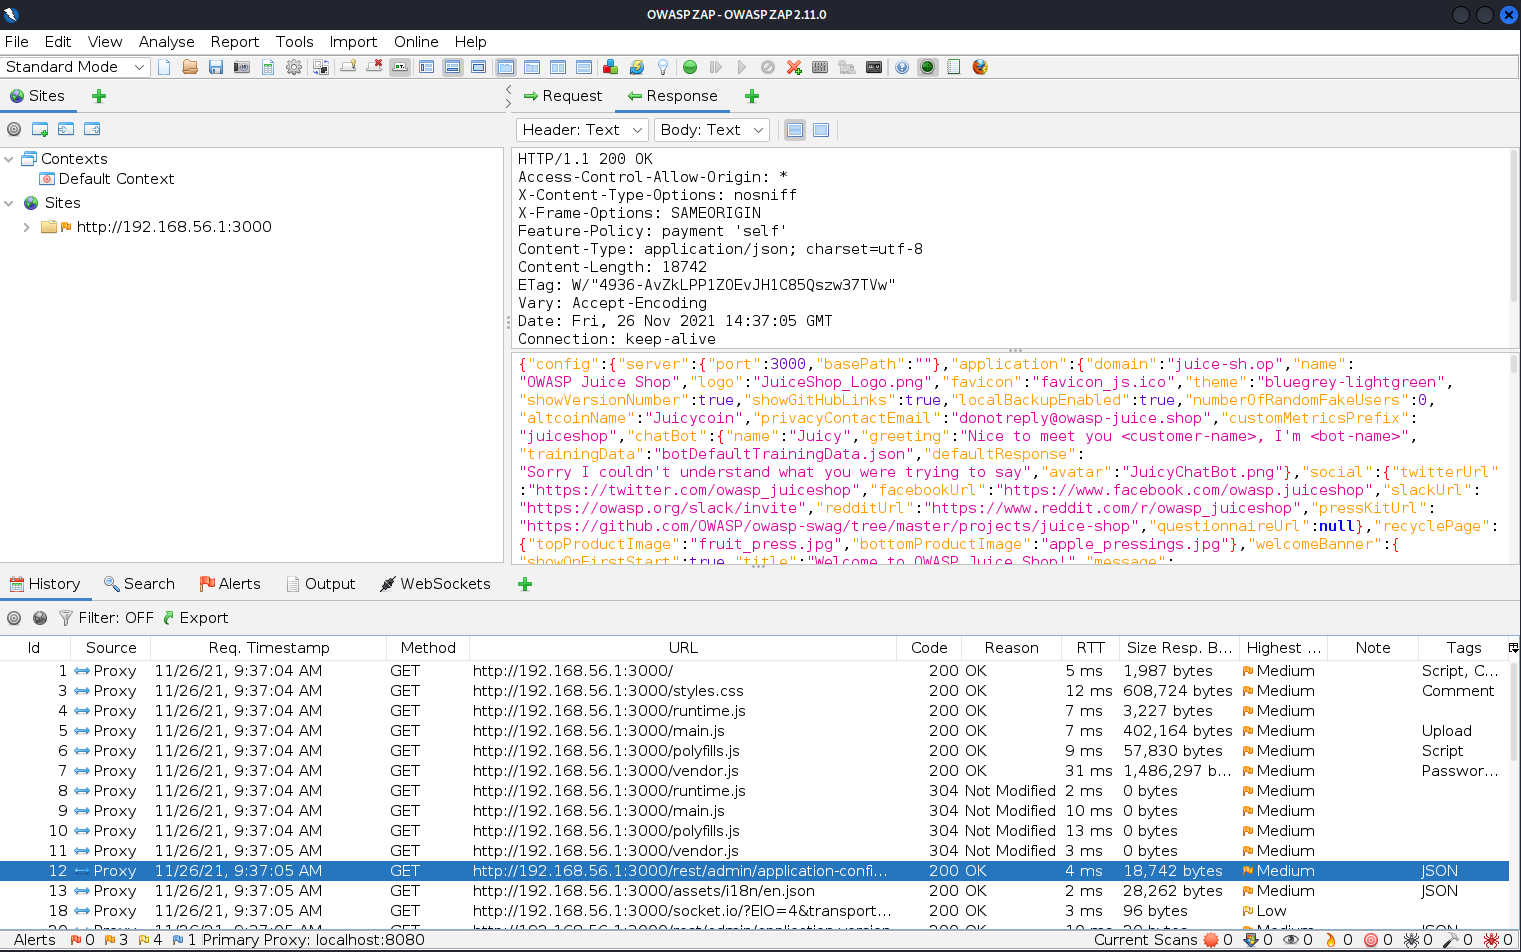
I started ZAP and enabled my proxy and opened the app. The Hud was not working, as I expected, but the traffic was listed on the ZAP application with the history-tab containing a lot of requests just for the first page.
d) Edit & resend
There was a page with a form for customer feedback on the juice shop web application so I posted some feedback and found the request on ZAP.
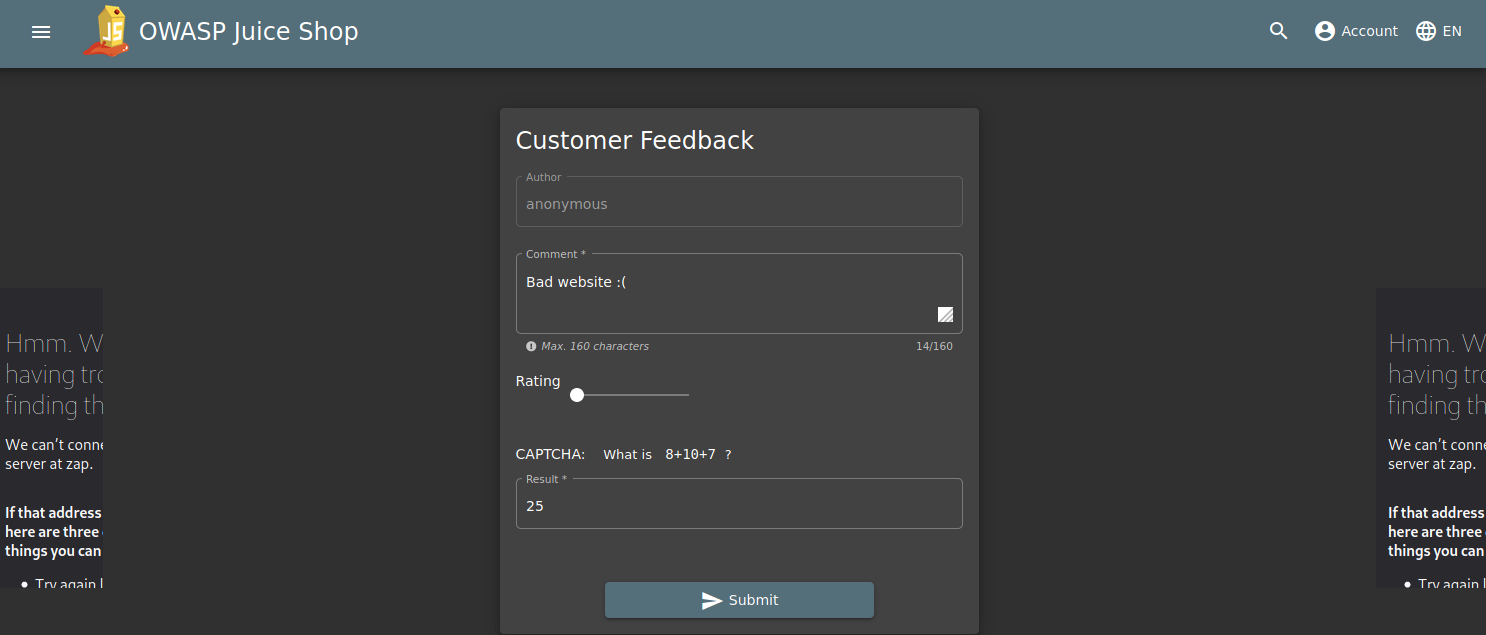
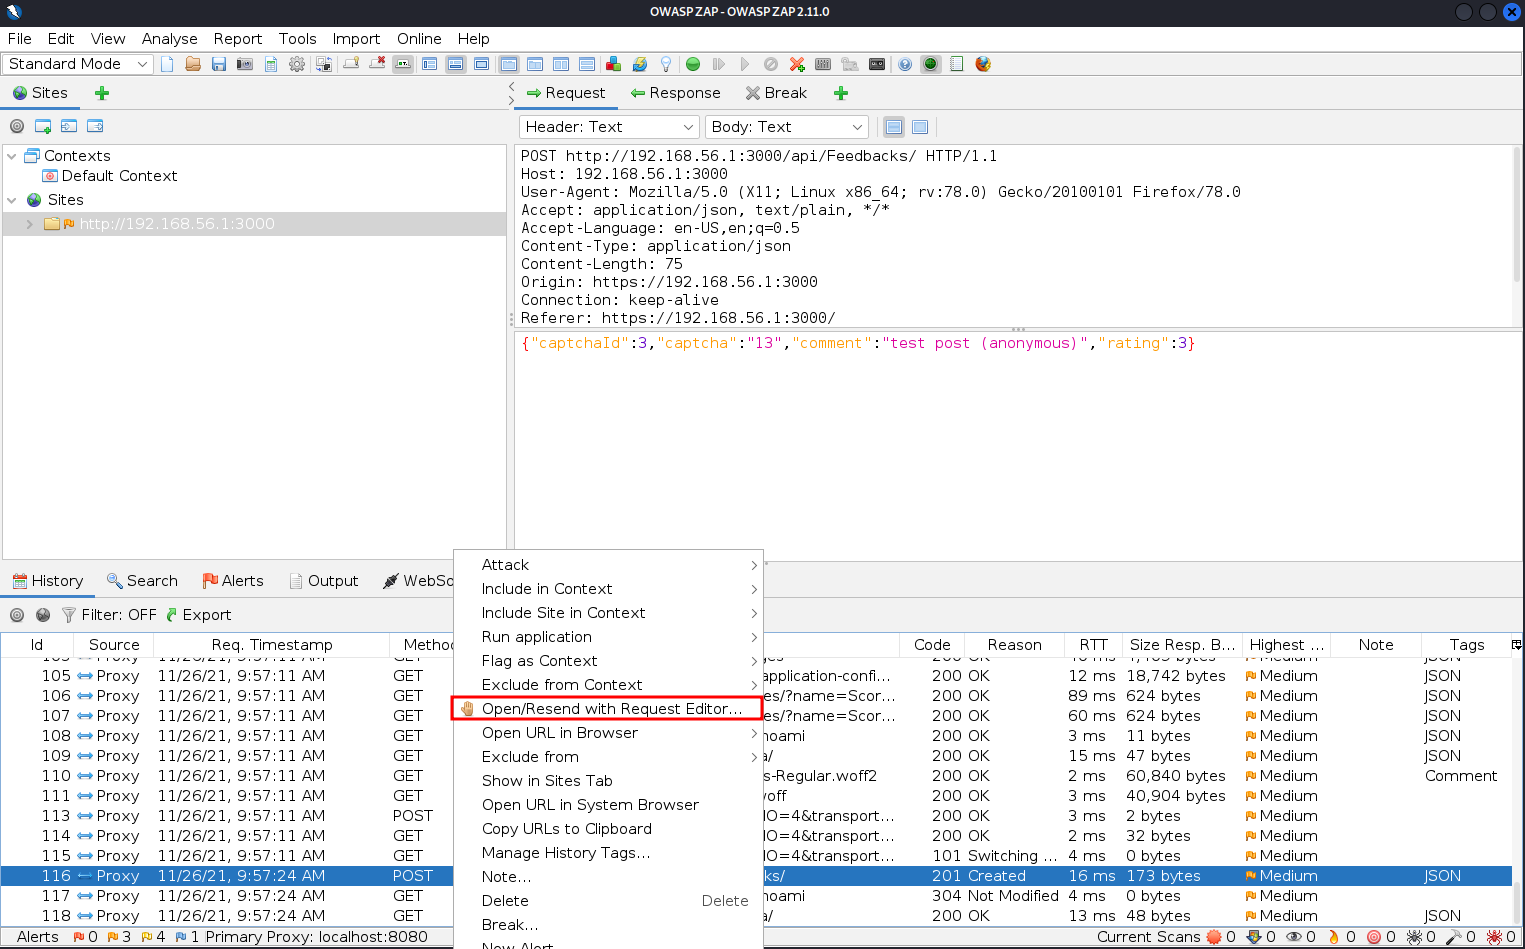
I opened the request on a manual request editor and sent it with modified data. The resent post was found on the page containing user reviews.

e) Traffic capture and edit
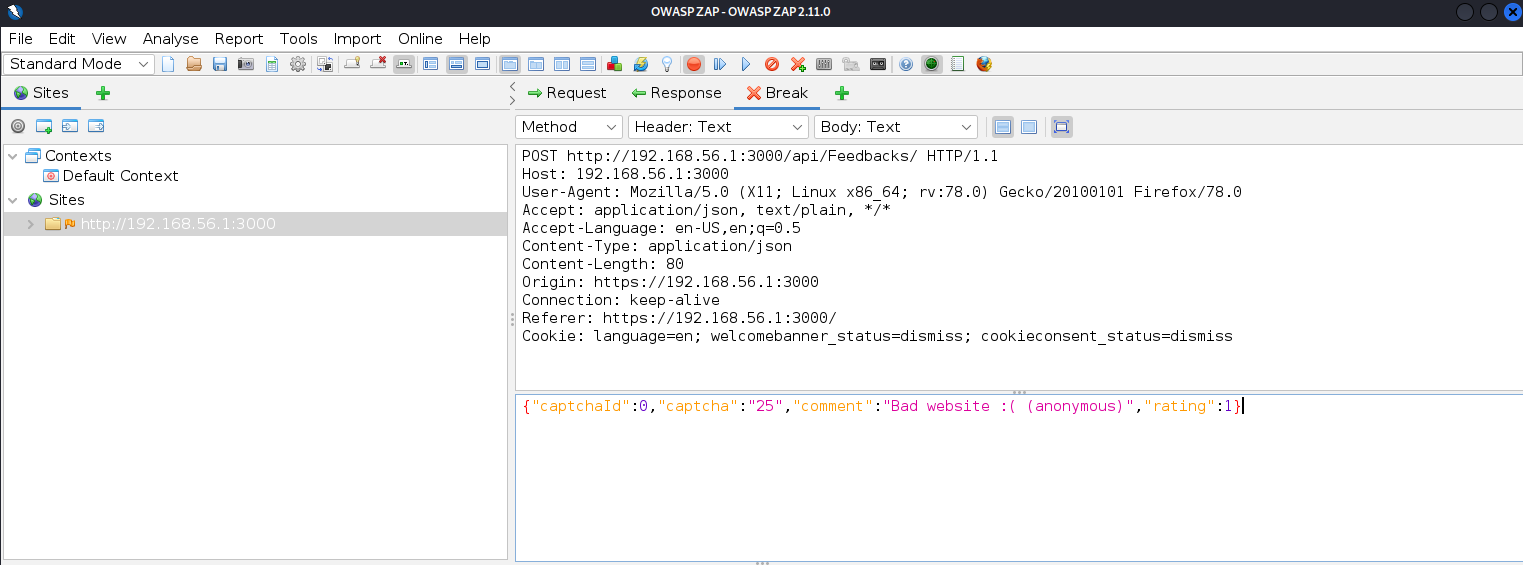
I tried to capture the same request that I edited in the previous section. To capture the request I set ZAP to break on all requests to be able to modify them.

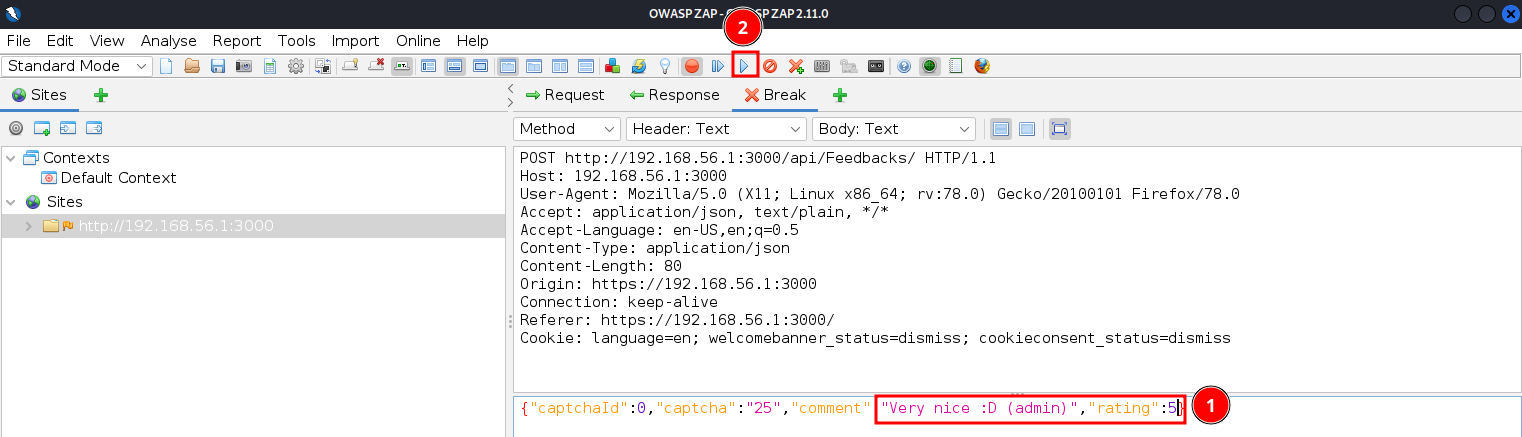
I then pressed submit on the web app and got this view on ZAP. I changed the post message as well as the rating in the request and pressed the Submit and continue... button and got no further responses or breaks. I then found the edited request had been accepted by the application as I found a page containing user reviews and it had the modified review on it.

f) Automated scanning and attacking
I then tried Spidering the website first with the basic spider on ZAP.
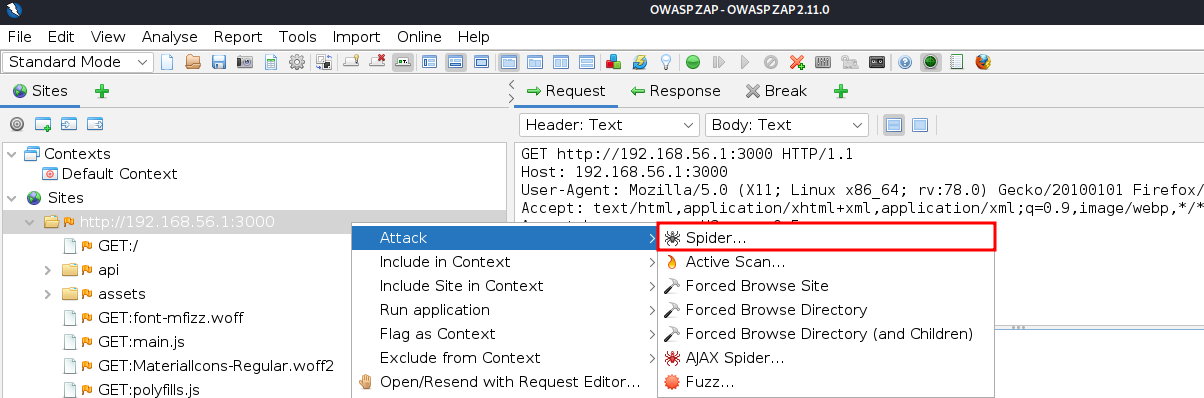
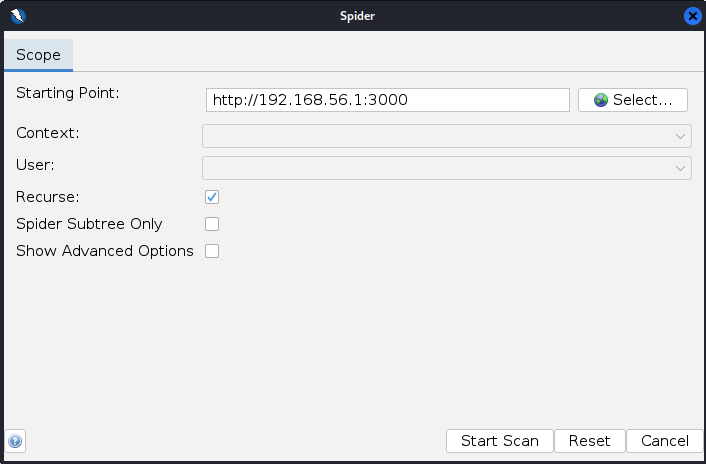
In a few seconds the spider had scanned the whole website and added the found URLs and subdirectories in the tree structure of the site.
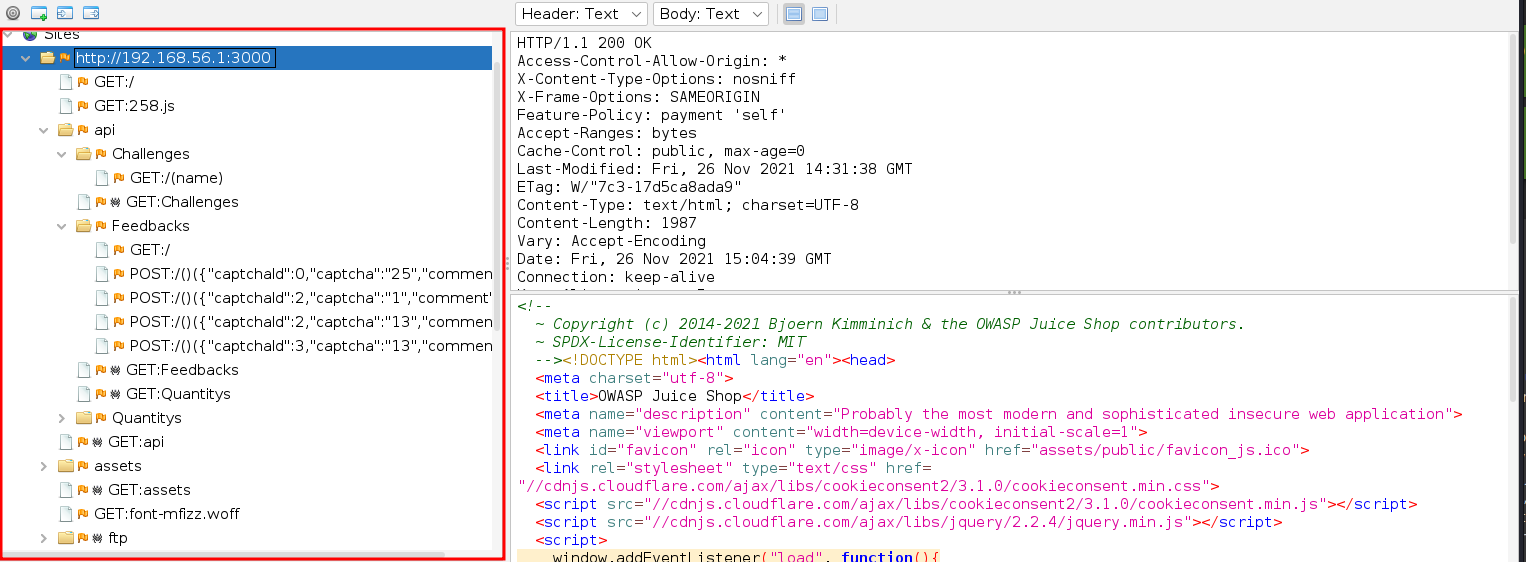
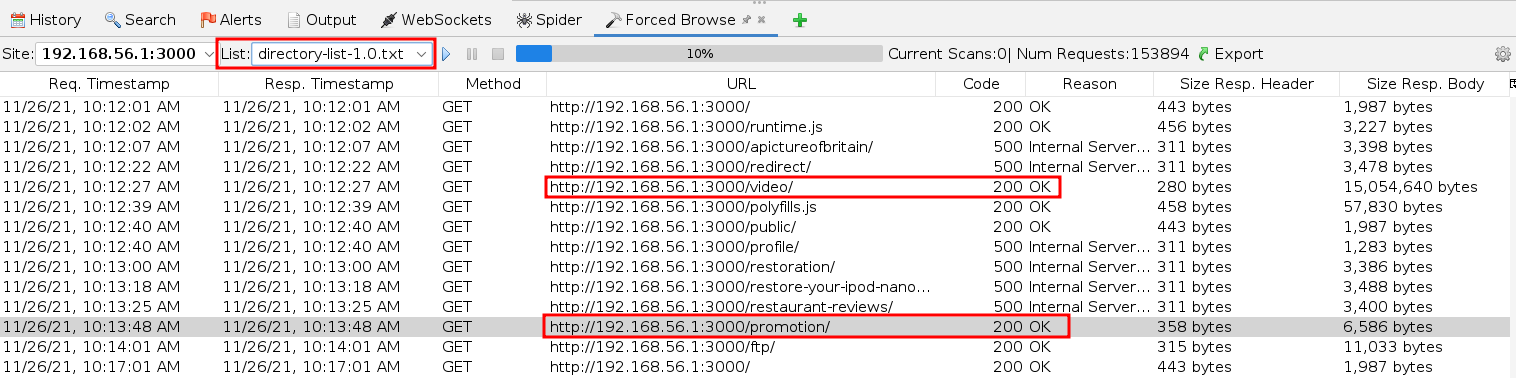
This did not really give any interesting results in new directories so I tried forced browsing next. This was very slow so after a while I just stopped it. Forced browsing found at least some directories not previously found. It also managed to crash the app running on my machine due to using too much memory, so that is something to worry about in the future.
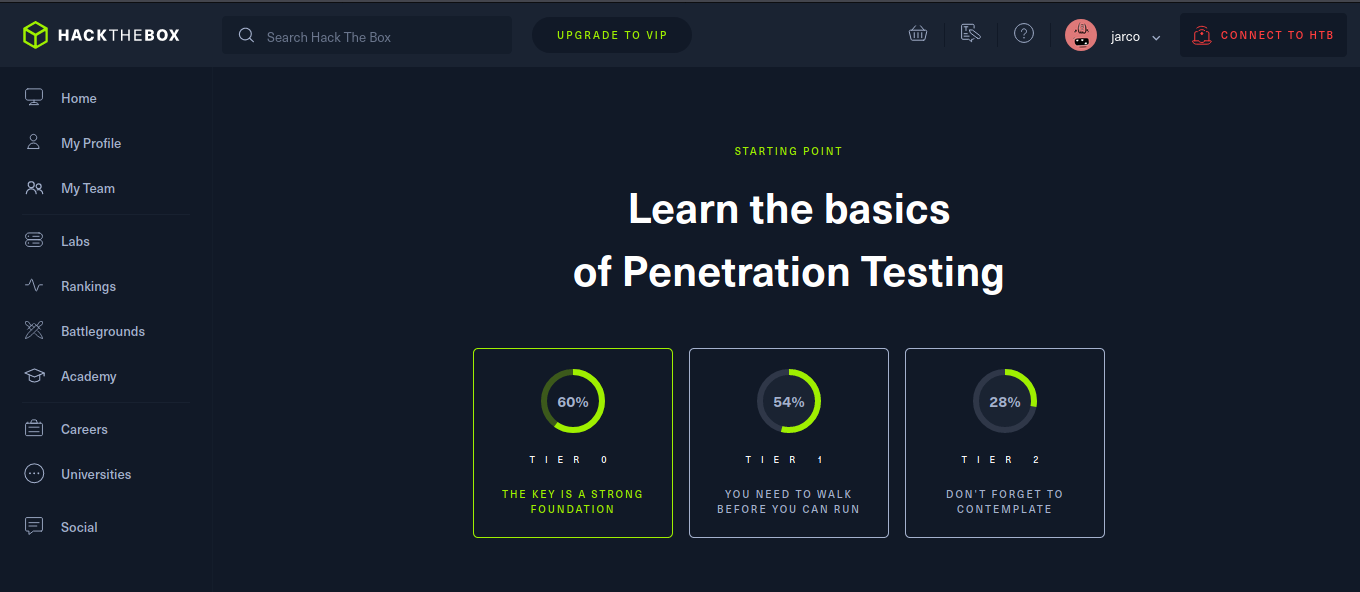
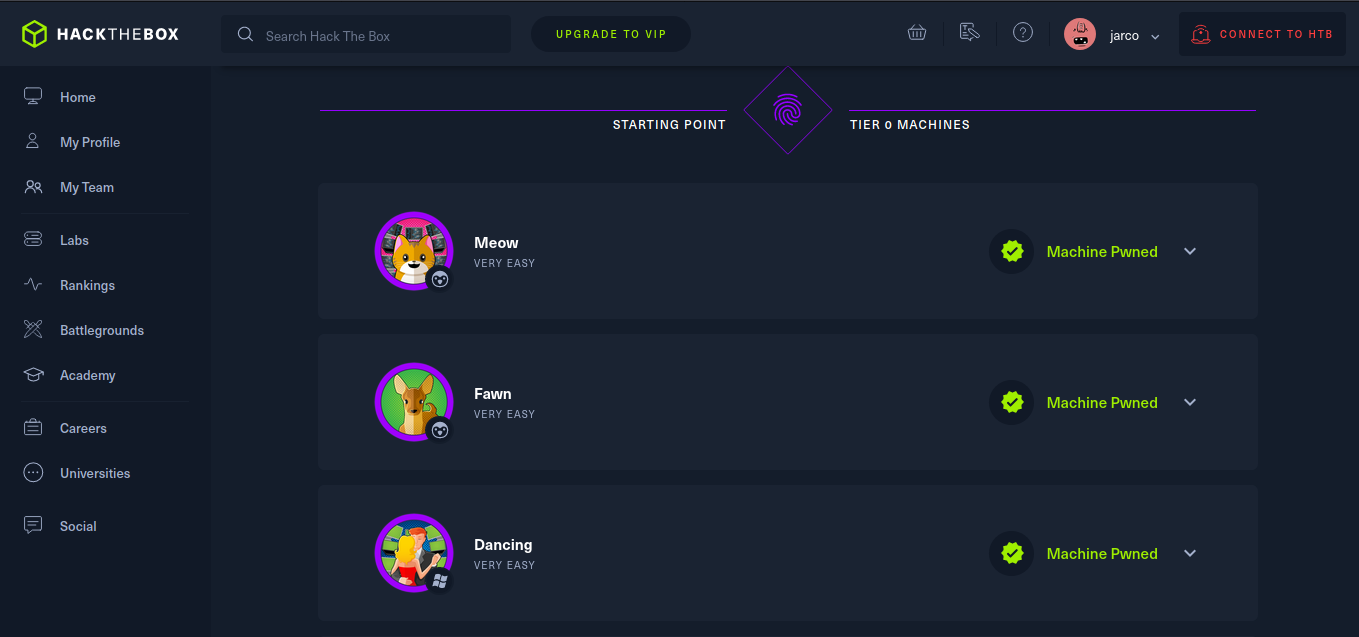
g) HackTheBox starting point
I have already comploeted most of the HTB starting point, so I will not be going through them here and will just focus on exploiting a normal machine.
h) HackTheBox machines
I have earlier completed the machine Horizontall and for this week I'm trying to complete the machine Previse. Ask for the credentials during the course session or by email.